The ankle is, by a wide margin, the most frequently injured joint in both amateur and professional padel. Between explosive changes of direction, unpredictable bounces off the glass walls, and artificial turf with sand infill, a single bad landing can keep you off the court for weeks or months. This guide explains why it happens, what to do in the first minutes after a sprain, how to actually prevent it, and — most importantly — when it's genuinely safe to return to play without risking a relapse.
Why the ankle takes such a beating in padel
Padel combines two demanding factors into a perfect storm for the ankle: surface and movement pattern. The court measures 20 meters by 10 meters, enclosed by glass walls between 3 and 4 meters high, and the floor is typically artificial turf filled with silica sand. That surface absorbs impact well, but it also creates a slightly less stable footing than a hard tennis or basketball court, especially when the turf is worn or sand accumulates unevenly.
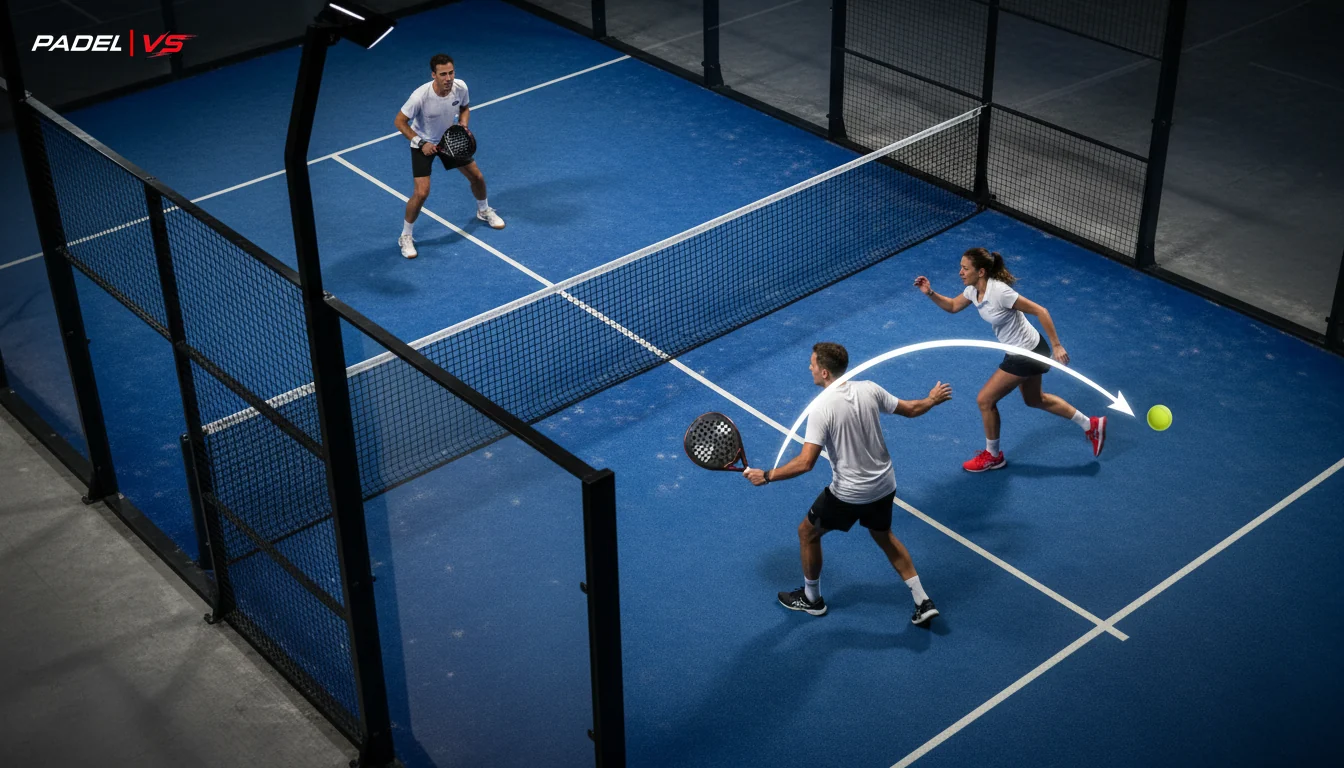
Add to that the typical padel movement pattern: a split-step before every shot, short sprints backward to play a ball off the back glass, sudden stops, single-leg pivots, and constant changes of direction to cover a court shared with your partner. It's common to step on the dividing line, on a stray ball from a previous point, or even on your partner's foot when both of you converge on the same shot.
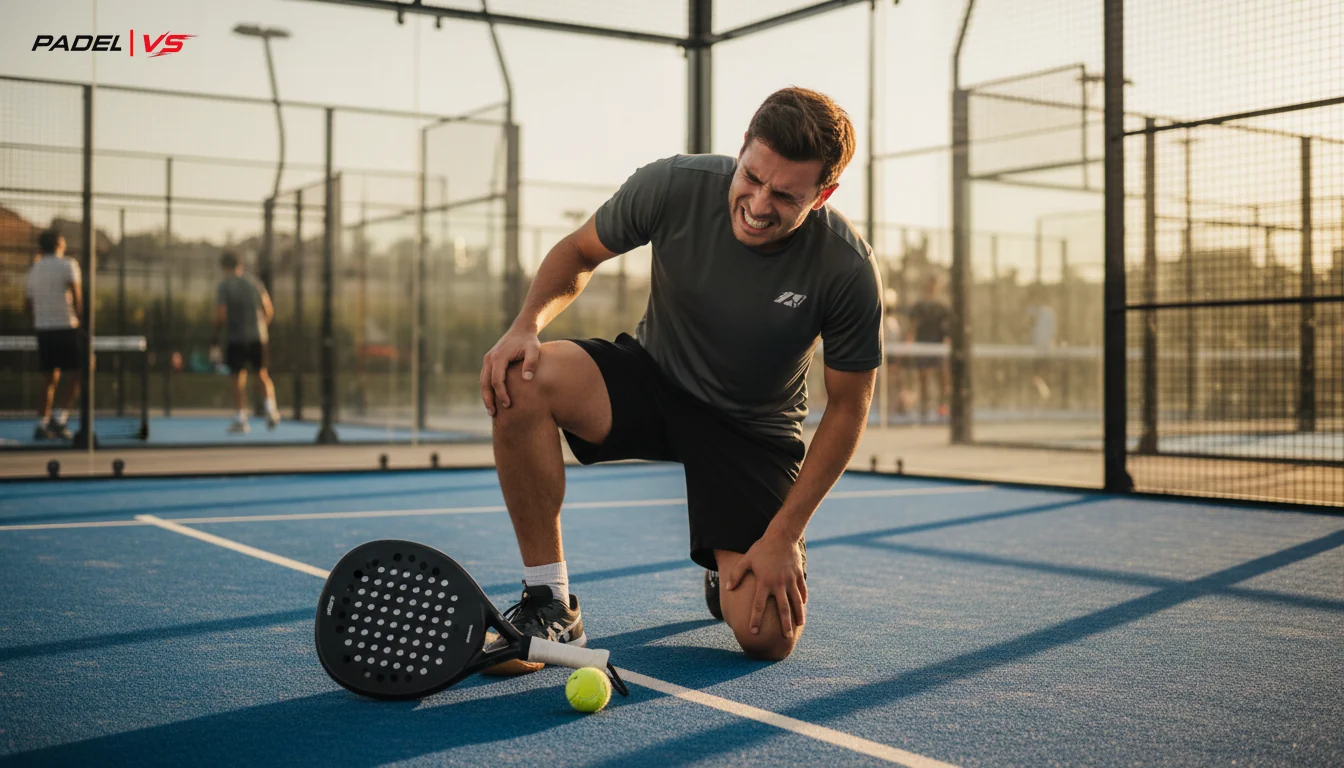
According to sports medicine literature on padel, ankle sprains consistently rank among the top two or three most frequent injuries in the sport, alongside shoulder problems and lower back pain. Most happen through an inversion mechanism: the foot rolls inward while the body's weight lands on the outer edge, overstretching the lateral ligaments.
Quick anatomy: what actually happens when you roll your ankle
The ligament that almost always gets hurt is the anterior talofibular ligament, part of the lateral ligament complex on the outside of the ankle. When the foot rotates beyond its normal range, this ligament stretches or tears partially or completely. Severity is classified into three grades, and knowing which one you're dealing with helps you set realistic expectations for treatment and timeline.
| Grade | Ligament damage | Typical symptoms | Estimated recovery time |
|---|---|---|---|
| Grade I (mild) | Micro-tears, no instability | Mild pain, minimal swelling, can walk with partial weight | 7 to 10 days |
| Grade II (moderate) | Partial ligament tear | Noticeable swelling, bruising, limping when walking | 3 to 6 weeks |
| Grade III (severe) | Complete tear | Joint instability, intense pain, cannot bear weight | 8 to 12 weeks, sometimes surgery |
A practical rule on the court: if within 15-20 minutes of the twist you can walk with partial weight without disabling pain, it's probably a Grade I. If you can't take even two steps, assume it's Grade II or III until a doctor says otherwise.
First aid: the POLICE protocol, not just RICE
For years, the standard was RICE (rest, ice, compression, elevation). Modern sports physiotherapy now recommends an updated version: POLICE (Protection, Optimal Loading, Ice, Compression, Elevation), because prolonged absolute rest actually delays tissue healing.
- Protection: leave the court immediately. Don't try to "test it out" for one more point. Use crutches or a partner's support if you can't bear weight.
- Optimal loading: instead of full immobilization, the goal is controlled, progressive weight-bearing as soon as pain allows, to stimulate ligament healing without overloading it.
- Ice: apply cold for 15-20 minutes every 2-3 hours during the first 48 hours. Never put ice directly on skin; use a thin towel barrier.
- Compression: an elastic bandage helps control swelling, but not so tight it cuts circulation (if toes turn purple or go numb, loosen it).
- Elevation: keep the foot above heart level for the first 24-48 hours, especially while sleeping.
"The ankle never warns you: one bad landing at the back of the court can cost you two months off. Prevention costs a brace; a botched recovery can cost you an entire season."
When to see a doctor: red flags
Not every sprain needs an X-ray, but certain signs do warrant a medical visit within the first 24-48 hours:
- You can't bear weight or take four consecutive steps.
- You heard or felt a "pop" at the moment of the twist.
- Swelling appears immediately and severely (within 30 minutes).
- There's visible deformity or the ankle looks abnormally twisted.
- You feel tingling, numbness, or the foot changes color (pale or bluish).
- Pain shows no improvement at all after 72 hours of home care.
A visit to an orthopedist or sports medicine doctor in Mexico typically runs $28-67 USD ($500-1,200 MXN aprox) at a private clinic, and if an MRI is needed to rule out a complete tear or osteochondral injury, the study usually costs around $140-280 USD ($2,500-5,000 MXN aprox) depending on the city and equipment.
Real prevention: what you can do before you step on court
Most sprains aren't "bad luck" — they're the result of weak ankles, inadequate footwear, or skipping a padel-specific warm-up. Here's what actually reduces risk:
Padel-specific footwear
Playing in running shoes or tennis sneakers on a padel court raises your sprain risk because they're not built for the constant lateral pivots of this sport. Look for shoes with a herringbone sole pattern designed for artificial turf, better lateral stability, and reinforced ankle support. A decent pair costs between $65-155 USD ($1,200-2,800 MXN aprox).
Dynamic warm-up, not static stretching
Stretching cold before playing doesn't prevent injuries. What does work is an 8-10 minute dynamic warm-up: lateral shuffles, skipping drills, short multi-directional jumps, and 2-3 minutes of light rallying before the first competitive point.
Proprioception and peroneal strength work
| Exercise | How to do it | Frequency |
|---|---|---|
| Single-leg balance | 30 seconds per leg, eyes open then closed | 3-4 times per week |
| Wobble board or BOSU | Squats or mini-jumps while maintaining balance | 2-3 times per week |
| Heel raises | 3 sets of 15, single-leg when possible | 3 times per week |
| Resistance band (inversion/eversion) | Lateral foot resistance against a band, 3x15 per side | 2-3 times per week |
Preventive taping or ankle braces
If you've already had a previous sprain — the single biggest risk factor for a second one is having had the first — wearing a semi-rigid ankle brace or functional tape during matches significantly cuts the risk of re-injury. A good-quality brace costs between $17-50 USD ($300-900 MXN aprox).
The return-to-court protocol, step by step
Coming back too soon is the number one cause of chronic ankle instability later in life. The return should be gradual and based on functional milestones, not on the calendar.
- Phase 1 — Pain-free walking: walk normally, with no limp, on flat ground.
- Phase 2 — Light jogging: jog in a straight line with no pain or swelling afterward.
- Phase 3 — Lateral movement: controlled lateral shuffles, gentle directional changes at 50-60% intensity.
- Phase 4 — Pivots and stops: simulate padel-specific movements (split-step, backhand turn, sprinting to the back wall) without the ball, at moderate intensity.
- Phase 5 — Ball training, no pressure: light rallying, no competitive points, 30-40 minutes.
- Phase 6 — Full match play: only once you've cleared all previous phases without pain or recurring swelling for 48 hours.
One objective criterion sports physiotherapists use is strength symmetry: the injured ankle should regain at least 90% of the strength and range of motion of the healthy side before full competitive match play is cleared. A sports physiotherapy session in Mexico runs around $22-44 USD ($400-800 MXN aprox), and a full rehab process for a Grade II sprain typically takes between 6 and 10 sessions.
"Coming back too early doesn't make you tougher — it makes you more fragile. Patience is part of the training too."
Re-adjusting your level when you return on PADEL VS
After several weeks away from competition, it's completely normal for your timing, lateral reaction, and confidence moving toward the back glass to not be at 100%. On PADEL VS we work with an ELO-based category system — Quinta (under 850), Cuarta (850-1000), Tercera (1000-1180), Segunda (1180-1350), Primera (1350-1550), and Open (1550 or above) — which lets you, when coming back from injury, look for friendly or similarly-leveled matches without the pressure of a ranking that doesn't reflect your actual physical condition in that moment.
Our practical recommendation: for the first two or three weeks back, schedule casual or practice matches before jumping straight into games that move your ELO significantly. You can coordinate these games by opening padelvs.com in your browser, using the Mini App inside Telegram via @padelvsbot, or messaging our WhatsApp AI bot directly, which can help you find opponents at your category or slightly below while you rebuild your rhythm.
If you play at a club that's already part of the PADEL VS network, take advantage of your match history to objectively track how your performance evolves week to week, instead of relying only on how the ankle "feels." If your favorite club isn't integrated yet, we recommend continuing to book directly through their Instagram or website while we keep building out the network — once they join, you'll be able to book and track your physical progress right from the same platform.
Bottom line: the ankle is protected off the court
The difference between a sprain that costs you 10 days and one that haunts you for years almost never happens on the court — it happens in what you do before (footwear, warm-up, proprioception) and after (correct protocol, patience in your progression, objective return-to-play criteria). If you've just gotten injured, resist the urge to "test it" in your next match. If you're healthy right now, invest 10 minutes three times a week strengthening your peroneal muscles and balance: it's the cheapest investment you can make to keep playing padel for the next twenty years.